
Tips for photographing forge marks and printing on paper
Tips for photography
Photographic material
- digital reflex camera with manual adjustment
- macro lens:
- focal length: 50 mm or more
- enlargement standard: 1:5 to 1:1
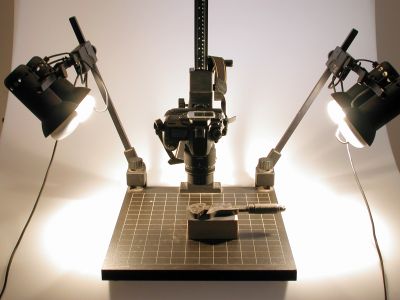
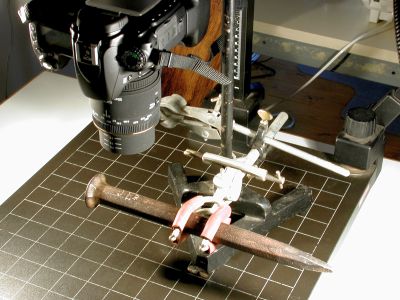
- photo shooting table: (see photo at left)
- lighting
- photo lamps for the photo shooting table
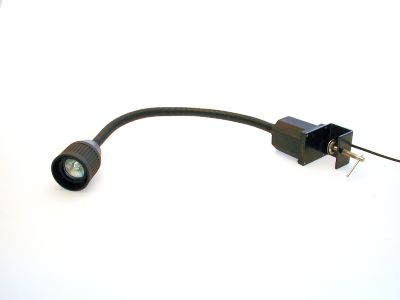
- separate halogen or LED lighting: (see photo at right)
Aids
- small brush with hard bristles
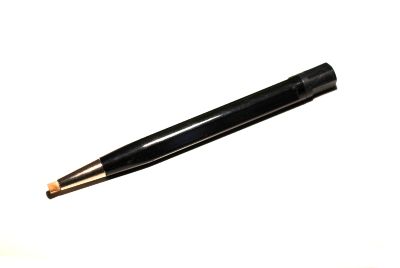
- contact cleaner: (see photo at right)
- chalk (blackboard chalk)
- stirring rods
- cloths
- spirit level (small)
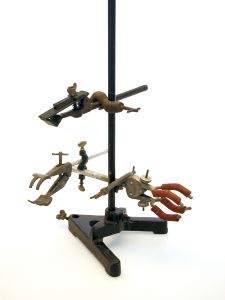
- material for fixing the pieces: (see photos below)
- black cardboard as background for the object
Method of working
- The surface with the marks should only be cleaned with great care. A shiny surface should be avoided (shiny parts cause annoying reflections on the photograph).
- Cleaning should preferably be done in consultation with the person in charge of the collection.
- When installing the camera on the stand of the shooting table the surface of the mark must be placed perpendicular to the axis of the object. If the finish of the forge mark allows it, chalk can be used to make it clearer. Wipe away the superfluous chalk by hand with a small lightly oiled cloth on a stirring rod.
- Focus macro-objective, if possible 1:1, this is actual size. With this focus the distance between the objective and the object is a few centimetres.
- Try out ways of lighting until you have the best image.
- This is usually achieved by lighting the mark from the side. Depending on the form and depth of the mark the lighting can be from the left, right or from both sides.
- A diaphragm of f 16 is advisable for photographing forge marks for a greater definition of depth.
- Once the photographs have been transferred to the PC, the lighting and/or contrast can be adjusted with the help of photo software.
- When editing a photograph you are recommended to change the name of the photo. The name you choose depends on the internal organization.
Tips for printing on paper
If you have no photographic apparatus available there are two simple ways, and with a minimum of equipment, to make a copy of a forge mark on paper.
To make a rubbing
You need:
- pencil (preferably soft)
- thin sheet of white paper
- if necessary, tape
- Put the sheet of paper on the forge mark and press it down firmly with your hand. For large marks you can, if necessary, fasten the paper with tape so that it can’t move.
- Pick up your pencil and hold it as slanted as possible.
- Rub the pencil point quickly across the forge mark without using pressure. Move from side to side in wide strokes.
- The forge mark starts to appear in the middle of the stain in a lighter colour on a dark grey background.
- As soon as the image appears stop at once, or everything will go black.
To make a soot print
You need:
- a lighted candle or match
- clear tape
- tissue
- Hold the object with the surface showing the forge mark at a slant or upside down.
- Move the flame past the forge mark until it is covered in black soot.
- Let it cool.
- Stick a piece of tape across the forge mark and press hard.
- Pull the tape off in one movement and stick it on white paper.
- You should now have a clear print which you can later scan or photograph.
- Rub the surface of the object clean with a dry tissue.