Making the pump fixtures
After drilling the trunk, the pump borer has to finish the pump mechanism. This involves both turning and forging the pump fixtures. The proof of the pudding is the mounting of the pump crank.
Finishing the pump top
Once the drilling is done, the pump body that remains visible above ground has to be squared and smoothed with saws, chisels and planes. This can be done roughly or more refined depending on the location and purpose of the pump. It is essential that the crank is mounted in such a way that the user can pump ergonomically and the pump bucket can move up and down in the pump body. To support the hinging of the crank, the top of the trunk is usually sawn into two characteristic protrusions. An alternative way is to attach a separate piece of wood to the side of the trunk to attach the crank to.
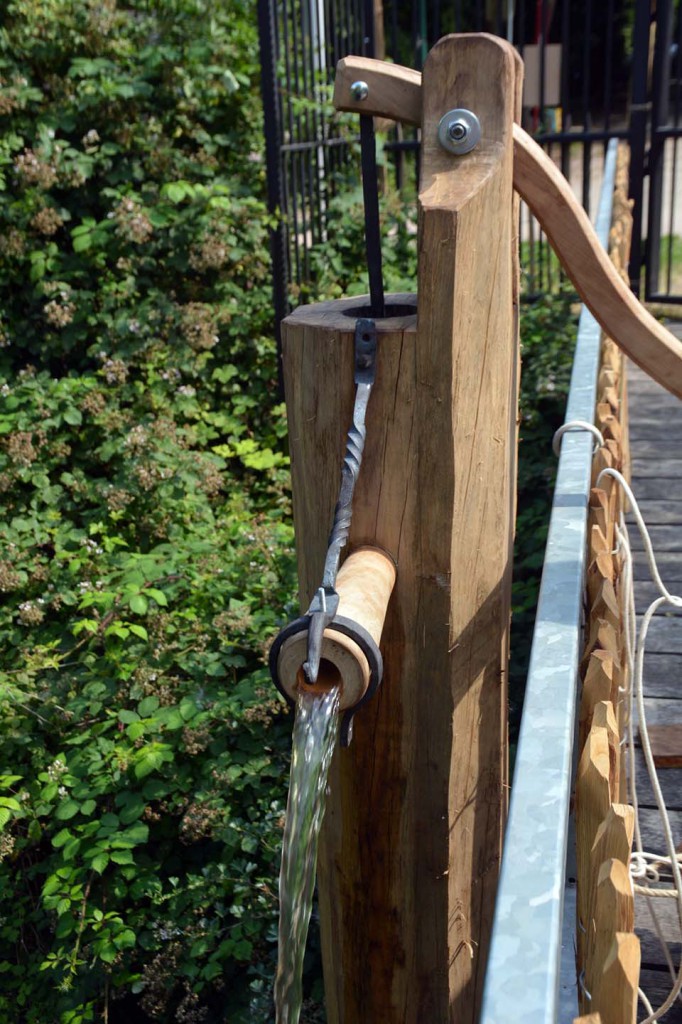
A spout hole is bored with the auger about 15 to 30 cm from the top, into which the conical wooden pump spout will be driven to allow the water to flow out. To draw the water in, a side inlet is drilled 25-50 cm from the underside of the trunk, so as not to suck sludge, sand or other sediment from the bottom of the well.
Sometimes a worn-out pump was pulled out of the well and turned over to serve for a few more years. The bottomside then had to be reworked to make a support for the pump crank. The spout hole then became the bottom inlet and vice versa.
video: finishing the pump


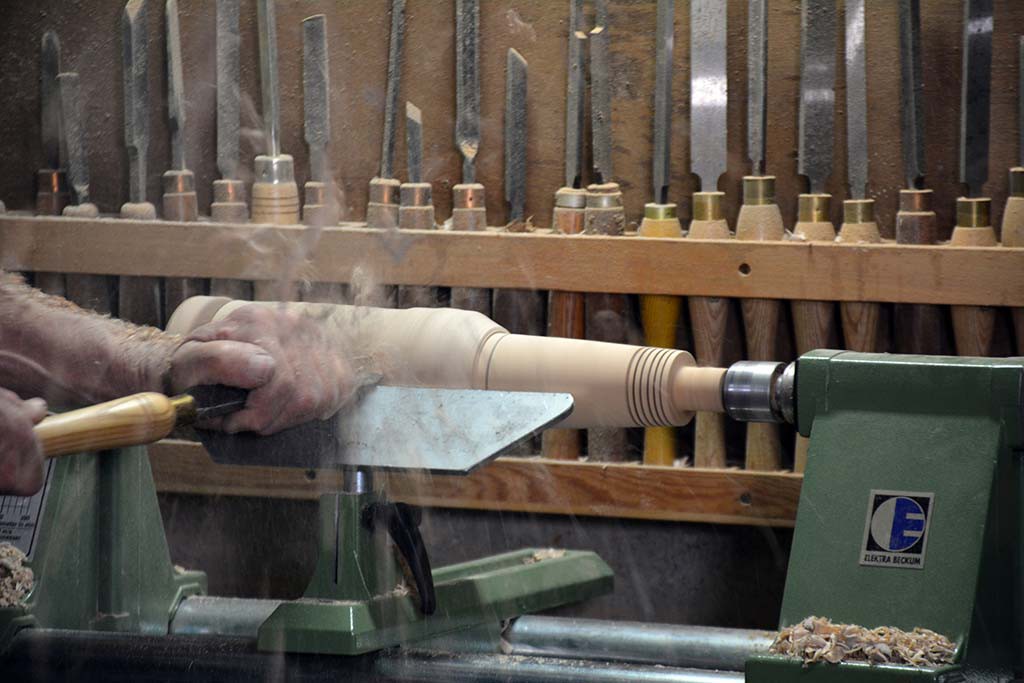
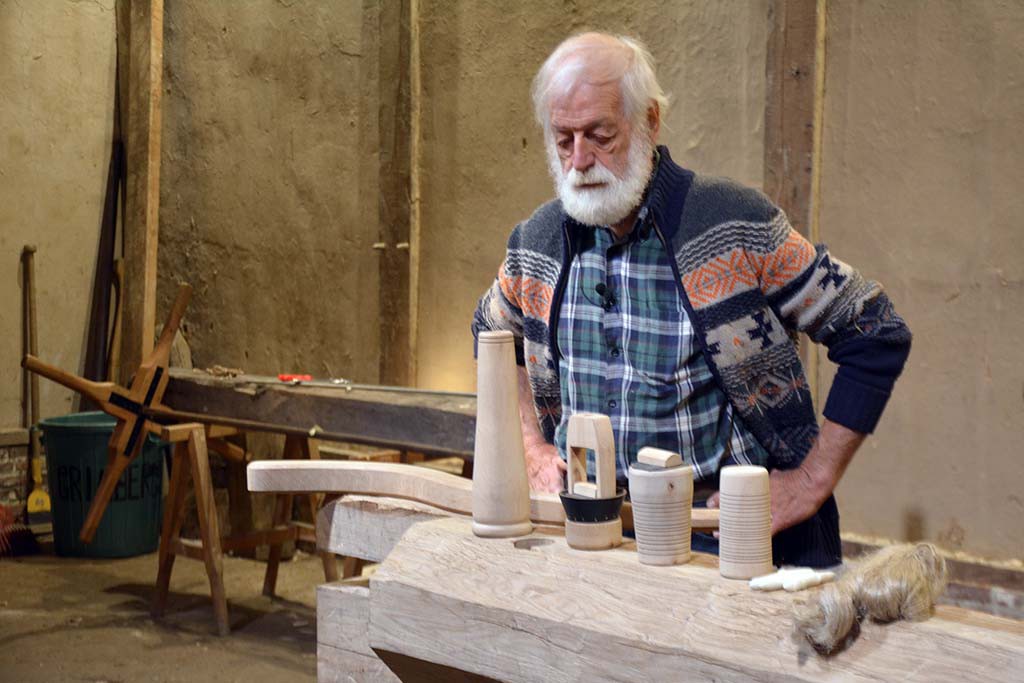
Making the wooden pump parts
The wooden parts in the pump body are mainly conical in shape. Usually the pump driller turnes them on a lathe himself. Our woodworker Luc Verachtert turned the elmwood parts with scrapers, while a woodturner would turn the elmwood parts with chisels. This is the only step in the project where we used electrical woodworking machines such as a lathe, circular saw and column drill.
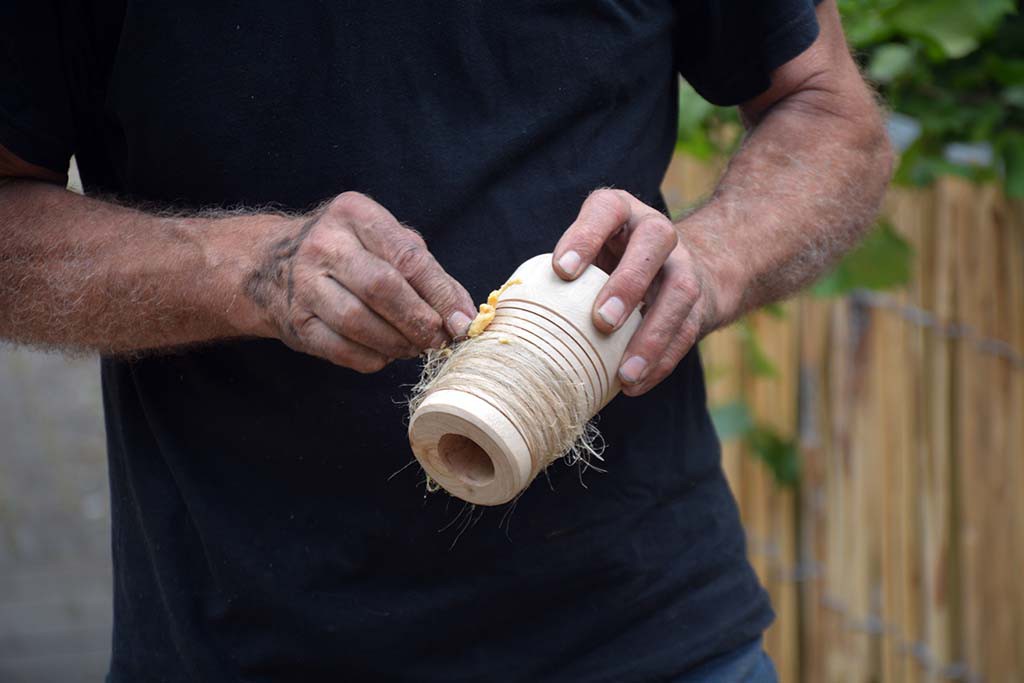
- Since the water is not drawn in directly at the bottom, but through a side cavity, the original borehole must be closed with a conical tap. The woodturner provides this tap with a few grooves to hold the flax or hemp that is wrapped around it. The thread is rubbed with grease, often sheep's candle wax, to make it waterproof.
- The pump lock is a cone-shaped, pierced piece of elm wood, provided with a leather cover, weighted with a wooden block. This piece of leather is fixed to one side so that it serves as a non-return valve. The pump lock is fitted at the level of the conical transition from the trunk to the pump body and is made watertight with greased thread as well.
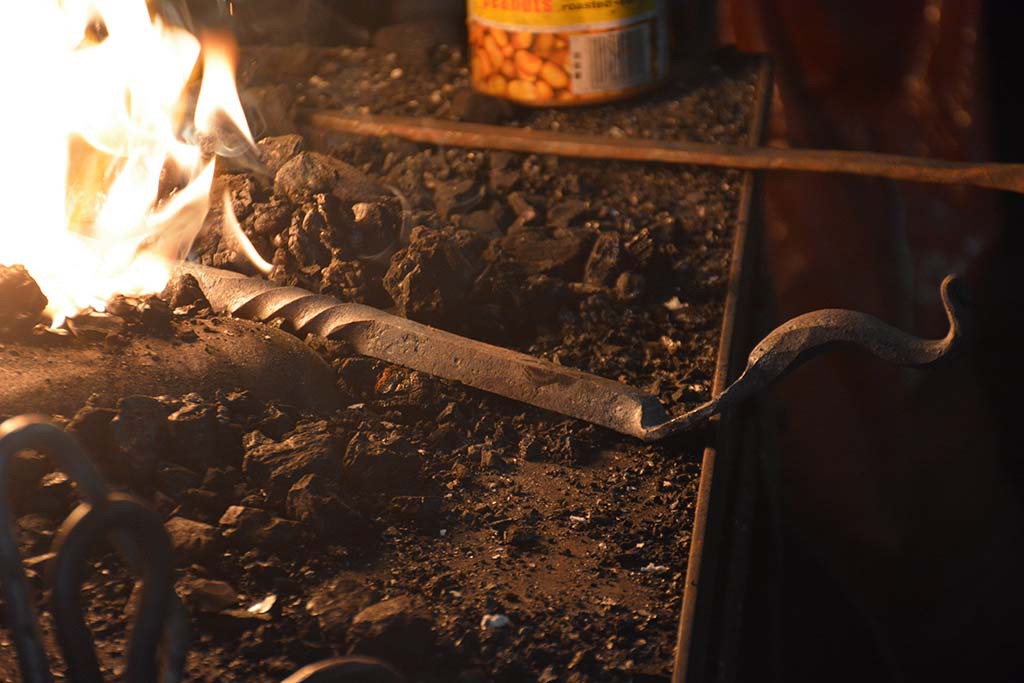
- The pump piston is irregular in shape and thus requires some cutting and drilling. It has a round leather collar for a good fit, to prevent leaking and yet have a smooth movement. These leather parts were made of a mold. The pump maker had a series of molds in his workshop for various sizes of pumps. The piston is attached to a long rod, the pump rod, which is screwed to the crank that moves it up and down in the pump body. Originally this pump rod was made of wood, but we opted to forge a metal one.
- The type of pump we manufactured has a transverse hand crank. Its shape could vary by region. We attached a piece of elm wood, nicely cut to shape. Some pump borers kept the central taproot on the tree after felling because it was well suited for making into a pump handle. Liquid manure pumps have a longer crank than water pumps. These pumps are taller and have a larger diameter which requires more power to pump.
- The pump spout is a long and conical piece of elm wood that is hammered horizontally into the spout hole to allow the water to flow smoothly and cleanly into a container such as a bucket or a watering can.
video: making the pump parts
Wrought iron pump parts
Originally water pumps were made entirely out of wood. As the cost of metals decreased, more iron hardware was gradually added to strengthen the crank mechanism and pump body components. The forging in our experiment is limited to the pump rod operating the pump piston and the fittings on the pump spout. An iron bracket is fixed between spout and pump to support the weight of the filling bucket and prevent the spout from sagging. The ironwork was made in the MOT's forge at the Guldendal by Luc Verachtert with the help of our volunteer blacksmith Patrick Tas.